Are you looking for a seamless way to capture your screen on a Microsoft Surface Pro? In today’s digital age, taking screenshots has become an essential skill for sharing information, documenting processes, or simply saving important visuals. Whether you're a student, professional, or casual user, knowing how to screenshot Microsoft Surface Pro can significantly enhance your productivity and efficiency. This guide will walk you through every possible method to take screenshots on your device, ensuring you never miss a moment or piece of information again.
With the increasing reliance on technology, understanding device-specific functionalities is crucial. The Microsoft Surface Pro offers versatility and flexibility, making it one of the most sought-after devices for both personal and professional use. However, many users find themselves puzzled when it comes to performing basic tasks like taking a screenshot. This article aims to demystify the process, offering step-by-step instructions and tips to make your experience smooth and hassle-free.
By the end of this guide, you'll not only know how to screenshot Microsoft Surface Pro but also understand the nuances of each method, allowing you to choose the one that best suits your needs. From quick keyboard shortcuts to advanced tools, we'll cover everything you need to become a pro at capturing screens on your Surface Pro. So, let's dive in and unlock the full potential of your device!
Read also:Discover The Best Movies And Entertainment With Luxmoviesco Your Ultimate Guide
What Exactly is a Screenshot and Why Do You Need It?
A screenshot is essentially an image capture of whatever is displayed on your screen at a particular moment. This can include anything from web pages and documents to error messages and software interfaces. Knowing how to screenshot Microsoft Surface Pro is invaluable for various reasons, such as sharing content with others, saving important information, or troubleshooting technical issues.
For instance, if you encounter an error message that you need to report, taking a screenshot can provide a clear visual representation of the problem. Similarly, if you're collaborating with colleagues or classmates, sharing screenshots can facilitate better communication and understanding. Understanding the importance of screenshots sets the foundation for mastering the techniques involved in capturing them.
How to Screenshot Microsoft Surface Pro: Key Methods to Explore?
There are multiple ways to take a screenshot on a Microsoft Surface Pro, each catering to different preferences and scenarios. Let's explore the primary methods:
- Using Keyboard Shortcuts
- Utilizing the Snipping Tool
- Leveraging the Snip & Sketch Application
- Employing Third-Party Software
Each of these methods offers unique advantages, and we'll delve deeper into them to help you decide which one works best for your specific needs. Whether you prefer speed and convenience or advanced editing features, there's a method for everyone.
Which Keyboard Shortcut Should You Use for How to Screenshot Microsoft Surface Pro?
Keyboard shortcuts are the quickest way to take a screenshot on your Microsoft Surface Pro. The most commonly used shortcut is the Windows key + Print Screen, which captures the entire screen and saves it to the Pictures folder under a Screenshots subfolder. This method is ideal for users who want to quickly save a full-screen image without any additional steps.
Alternatively, you can use the Windows key + Volume Down button for a more immediate capture that doesn't save the image automatically. This method is perfect for situations where you need to share the screenshot instantly via email or messaging apps. Understanding the nuances of these shortcuts can greatly enhance your efficiency when taking screenshots.
Read also:Darling Jacks Tavern The Ultimate Spot For Drinks And Vibes
How Can the Snipping Tool Enhance Your Screenshot Experience?
The Snipping Tool is a built-in application on Windows devices, including the Microsoft Surface Pro, that allows for more customized screenshot captures. With the Snipping Tool, you can select specific areas of the screen, create free-form snips, or capture windows and menus individually. This level of control makes it an excellent choice for users who require precise and detailed screenshots.
Additionally, the Snipping Tool offers basic editing features, such as adding annotations or highlights, which can be incredibly useful for presentations or reports. By mastering the Snipping Tool, you can elevate your screenshot capabilities beyond the basic full-screen captures provided by keyboard shortcuts.
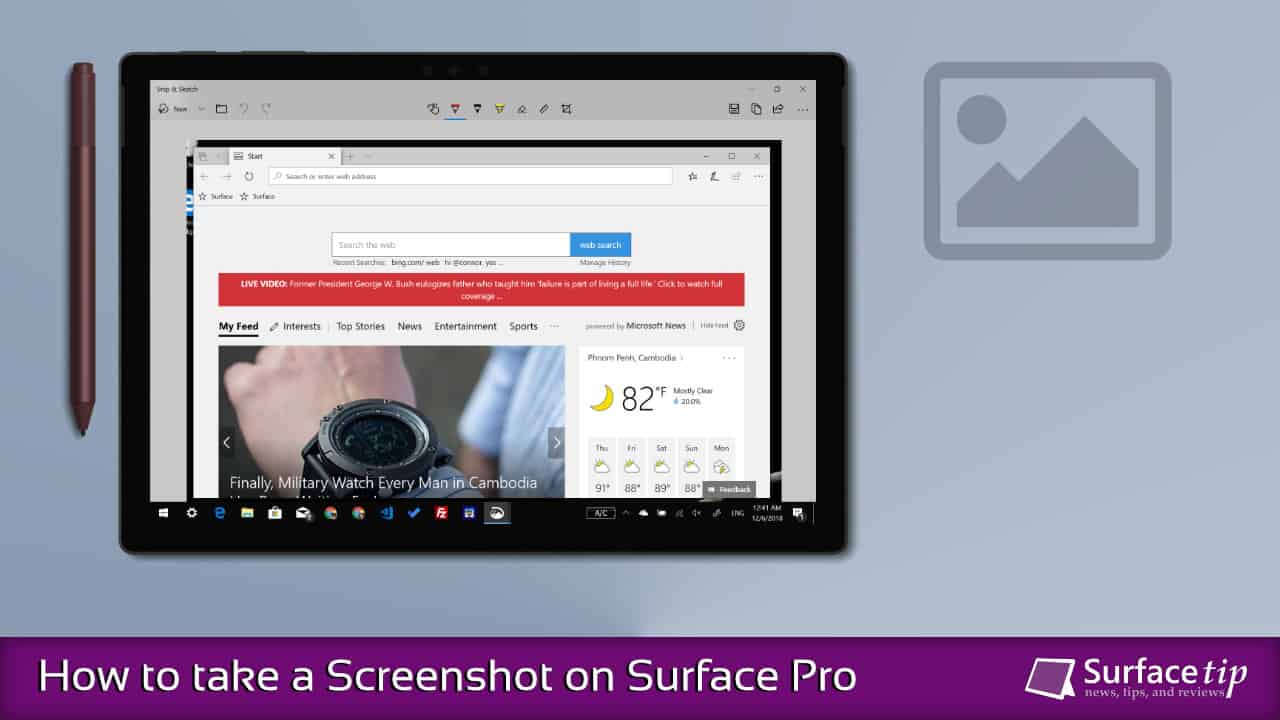
Is the Snip & Sketch Application Better Than the Snipping Tool?
While the Snipping Tool is a reliable option, the Snip & Sketch application offers even more advanced features and a more user-friendly interface. Introduced in Windows 10, Snip & Sketch allows for delayed snips, meaning you can set a timer before the capture is taken. This is particularly useful for capturing menus or toolbars that disappear when you click elsewhere on the screen.
Furthermore, Snip & Sketch provides a wider range of editing tools, enabling you to annotate, crop, and adjust the opacity of your screenshots with ease. If you're wondering how to screenshot Microsoft Surface Pro with enhanced editing capabilities, the Snip & Sketch application is definitely worth exploring.
When Should You Consider Using Third-Party Software for How to Screenshot Microsoft Surface Pro?
While the built-in tools on your Microsoft Surface Pro are sufficient for most users, there may be situations where you require more advanced features. In such cases, third-party software can offer additional functionalities, such as capturing scrolling windows, creating GIFs, or integrating with cloud storage services.
Some popular third-party screenshot tools include Greenshot, Lightshot, and ShareX. These applications provide a wide array of options to cater to diverse user needs. However, it's important to ensure that any third-party software you choose is reputable and secure, as downloading unknown applications can pose risks to your device's security.
What Are the Common Mistakes to Avoid When Taking Screenshots?
Even with the best tools and techniques, mistakes can happen. One common error is failing to save the screenshot in the desired location, leading to frustration when you can't find the file later. To avoid this, always check the default save location or specify a custom folder before taking the screenshot.
Another mistake is not utilizing the full potential of the available tools. Many users stick to basic methods without exploring the advanced features that could save them time and effort. By familiarizing yourself with all the options, you can optimize your screenshot process and achieve better results.
How Can You Ensure High-Quality Screenshots on Your Microsoft Surface Pro?
Quality is paramount when it comes to screenshots, especially if they're intended for professional or public use. To ensure high-quality captures, consider the following tips:
- Use the highest resolution available on your device.
- Avoid capturing unnecessary elements by selecting specific areas.
- Edit and enhance the image using built-in or third-party tools.
By paying attention to these details, you can produce clear and visually appealing screenshots that effectively convey the intended information.
Why Is It Important to Know How to Screenshot Microsoft Surface Pro in Various Scenarios?
Understanding how to screenshot Microsoft Surface Pro in different scenarios can greatly enhance your ability to adapt to various situations. For example, knowing how to capture a specific window or menu can be invaluable during presentations or when documenting software processes. Similarly, being able to take quick screenshots without saving them can be useful for sharing information on the go.
By mastering the art of taking screenshots, you empower yourself to handle any situation with confidence and efficiency. Whether you're a student, professional, or casual user, this skill is sure to prove beneficial in countless ways.
Conclusion: Embrace the Power of Screenshotting on Your Microsoft Surface Pro
In conclusion, knowing how to screenshot Microsoft Surface Pro is an essential skill that can significantly enhance your digital experience. From quick keyboard shortcuts to advanced tools like Snip & Sketch, there are numerous methods to choose from, each offering unique advantages. By exploring these options and understanding their nuances, you can tailor your screenshot process to perfectly suit your needs.
Remember, the key to mastering any skill lies in practice and experimentation. So, don't hesitate to try out different methods and discover which one works best for you. With this guide as your companion, you're well-equipped to become a pro at capturing screens on your Microsoft Surface Pro. Happy screenshotting!
Table of Contents
- What Exactly is a Screenshot and Why Do You Need It?
- How to Screenshot Microsoft Surface Pro: Key Methods to Explore?
- Which Keyboard Shortcut Should You Use for How to Screenshot Microsoft Surface Pro?
- How Can the Snipping Tool Enhance Your Screenshot Experience?
- Is the Snip & Sketch Application Better Than the Snipping Tool?
- When Should You Consider Using Third-Party Software for How to Screenshot Microsoft Surface Pro?
- What Are the Common Mistakes to Avoid When Taking Screenshots?
- How Can You Ensure High-Quality Screenshots on Your Microsoft Surface Pro?
- Why Is It Important to Know How to Screenshot Microsoft Surface Pro in Various Scenarios?
- Conclusion: Embrace the Power of Screenshotting on Your Microsoft Surface Pro